
Your cart is currently empty!
Teenage Engineering EP 133 K.O. II: A Comprehensive Overview
Teenage Engineering has unveiled its new platform, the EP series, and leading the lineup is the EP 133 Knockout II. Popular YouTuber Cuckoo introduced the product in one of his videos and according to him, it’s not just an upgrade, it’s akin to “The Knockout 2000”.
Hardware Overview
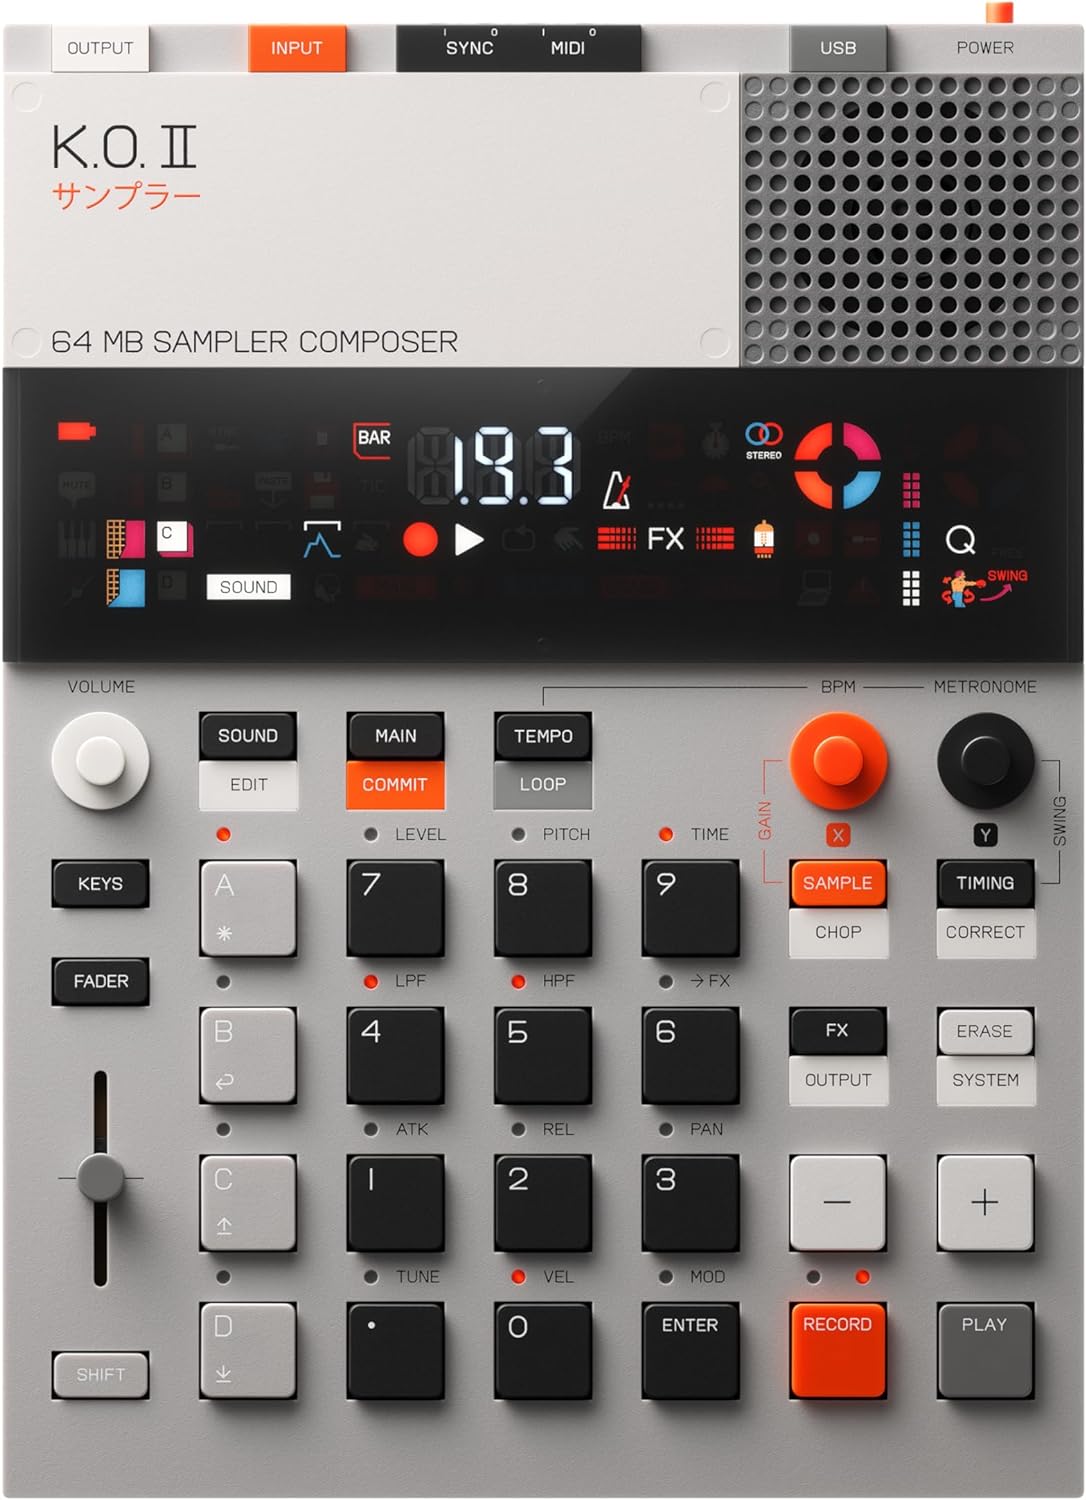
The EP 133 Knockout II is sleek, portable, and packs a punch in terms of features. It runs on four AAA batteries that promise more than 20 hours of usage time. The device is lightweight yet sturdy, and doesn’t slip or slide around on a table despite its small size.
This music production tool comes equipped with pads, buttons, three knobs, and a slider control. It offers multiple connectivity options with an output, input, sync in/out, MIDI in/out, and USB power ports. The USB port allows for backup and sample management, and you can also sample sounds directly using the built-in microphone or through the input port.
Getting Started: Assigning Sounds & Navigating Through Them
Assigning sounds to the black pads on the EP 133 Knockout II is straightforward. To do this, you simply press a pad, press ‘sound,’ and then press ‘plus.’ The device offers hundreds of sound slots categorized by type, such as kick drums and snare drums, but you can also empty the machine and upload your own sounds.
Navigating through the sounds is also easy. If you want to access sounds in the hundred categories (100s are kick drums, 200s are snare drums, etc.), you just need to press and hold a pad until you see a finger icon, then type in the number (e.g., 100 for kick drums, 200 for snare drums).
Menus and Recording a Beat
The EP 133 Knockout II offers different menu options for sound, amp, and pitch. When adjusting pitch values, the middle value will momentarily flash, providing a useful visual cue.
In terms of recording, the process is as simple as pressing record and then play. The device then records one bar, creating a loop that can be used to build up a beat.
Erasing a Track
If you’re not satisfied with a track you’ve recorded, you can easily erase it. In the main mode, which controls the sequencer, press ‘erase’ and select the sound you want to delete. The sequencer is divided into tracks, one per pad, so you can choose which track to remove. This action will show you the track momentarily, and if you press and hold, the device will delete the track.
Quantizing an Unquantised Recording
The EP 133 Knockout II allows you to keep your recording’s timing as is, or you can quantize it afterward. To do this, press ‘shift’ and ‘timing’ to correct the time. The device will prompt you to confirm if you want to correct in 16th, and once confirmed, it will adjust the timing. You can also choose to correct the timing for specific notes while the track is playing.
Step Sequencer
The EP 133 Knockout II offers a step sequencer, allowing you to punch in new notes at any step by pressing ‘record’. If a note doesn’t have a sample, you can easily erase it.
Editing Sound Envelope and Amplitude
To change the length of a sound, you can edit its envelope. Press ‘shift’ and ‘sound’ to access the different editing zones, and adjust the release from there. You can also adjust the amplitude of the sound by pressing ‘sound’.
Replacing a Sound
If you’re not satisfied with a particular sound, the EP 133 Knockout II allows you to replace it. Simply navigate through the sounds until you find one that fits your track better.
Sampling from the Built-in Mic
The device comes with a built-in microphone that allows you to record samples directly. Press ‘sample’, and the device will indicate that it’s ready to record with the microphone. You can adjust the mic’s gain to boost the signal. The device also offers auto-sampling, which begins when you press a pad.
Trimming a Sound
If you’ve recorded a sound that’s longer than necessary, you can trim it down. Go to ‘sound’, then ‘trim’ to adjust the start and end points of the sound. For finer control, hold ‘shift’ while adjusting.
Punch-In Recording and Sampling from Vinyl
To capture a unique sound, you can record from a vinyl player directly through the input. Ensure the audio out from your vinyl player is connected to the audio in on the EP 133 Knockout II. After setting the vinyl player up and choosing the part you want to sample, press ‘record’ and let the device capture the sound.
Chopping a Sample
Once you’ve recorded a sample, you can chop it up into different sections and assign them to different pads. The same sample is loaded onto several pads but with different sections. You can refine these chops further using the ‘trim’ feature.
Grouping Sounds
You can group sounds so they cut off each other when played simultaneously. This is done by going into ‘sound’ and ‘edit’, then navigating all the way to the ‘group’ option and turning off all the groups.
Layering Sounds
The EP 133 Knockout II allows you to layer sounds in four layers- A, B, C, and D. For instance, after working on layer A, you can move to layer B and add a different instrument, like a bass.
Playing Chromatically with Keys Mode
To play a sound chromatically (i.e., in tune), you can use the ‘keys’ mode. If you want to play the sound at a higher octave, press ‘keys’ and then the ‘plus’ button. You can also press another key while playing to set it as the root note.
Editing Sound Play Mode
You can edit how a sound plays when you press and release a key. For instance, you can set it to stop when you lift the key by going to ‘sound’ > ‘edit’ > ‘sound’, and then selecting the ‘one key’ or ‘legato’ option.
Using a MIDI Keyboard
For more flexibility, you can connect an external MIDI keyboard to the EP 133 Knockout II. Connect the MIDI to the TRS MIDI port on the device, and ensure it’s set to MIDI channel one. The keyboard will play the pads or the chromatically arranged keys depending on whether you’re in ‘keys’ mode or not.
Punch-In Quantization
After recording a track, you can choose to correct some notes while keeping others loose for a more natural feel. This punch-in quantization feature allows you to adjust the timing of specific notes to your liking.
Fader
The fader on the EP 133 Knockout II can do a lot of things. By default, it changes the volume of the current layer. For instance, if you’re working with a bass layer, you can quickly mute the entire layer using the fader.
To charge the fader with a different functionality, press ‘fader’ and select the function you want to assign. The options include level, pitch, and time.
Adjusting Pitch and Time
You can adjust the pitch of a sound using the fader. After assigning ‘pitch’ to the fader, moving it changes the pitch of the sound. The same process applies to time. It’s a rudimentary time stretch, altering the length of the sound. However, be careful not to leave a value higher or lower than intended as it will remain at that value until changed again.
Effects (FX)
The EP 133 Knockout II comes with various effects including delay, reverb, distortion, chorus, filter, and compressor. To access these effects, press ‘effect’. If the fader is set to ‘effect’, it sends the current layer to the selected effect.
Each effect has its unique parameters to explore. For instance, the delay has two parameters you can tweak for the desired sound. The reverb has color and length parameters, while the distortion effect adds a crunchy texture to your sound. The chorus creates a stereo effect, the filter modifies the frequency range of the sound, and the compressor controls the dynamic range.
Punch-In Effects
Punch-in effects are a different array of effects that you can access by pressing and holding ‘effect’. These effects apply to the master track and are pressure-sensitive, meaning they respond to how hard you press the keys.
There are several punch-in effects to explore, each assigned to a different key. However, be careful with effect number two, the tape effect. This effect changes the speed of the entire sequencer and can disrupt the timing of your music, so use it sparingly and intentionally.
Using the Looper
The looper is a powerful feature that can create unique sound effects. It shifts the playhead around a bit, allowing you to change the length of the loop from short to long.
Setting the Tempo
You can set the tempo by quad tapping it (1-2-3-4) or by typing it in. To type it in, press and hold until you see the finger icon, then input your desired tempo. For example, if you want it set to 171, simply type in “171”.
Creating and Having Fun with Patterns
Each layer on the EP 133 Knockout II has its own pattern, independent from each other. These patterns can be as short as two bars or as long as 99 bars. You can also line up different patterns together and step through different constellations of patterns. To do this, press and hold until you see “a01 B 01”. That’s the pattern. If you want to commit to the pattern, press ‘commit’.
Duplicating Patterns and Creating a “Scene”
You can duplicate a pattern to create a “scene”. To do this, press ‘shift’ and ‘commit’. This will save the current pattern and duplicate it to an empty slot in the master. If you press ‘main’, you’ll see ‘S1’. Pressing ‘plus’ shows that there’s only one master. To duplicate, press ‘shift’ and ‘commit’. This duplicates the pattern onto sequence number two.
Editing a Duplicate Pattern
After duplicating a pattern, you can edit it without affecting the original pattern. For instance, you can erase the base and create a totally different baseline or rhythm. You can also adjust the tempo for this duplicated pattern independently.
Recording the Fader
An interesting feature on the EP 133 Knockout II is the ability to record the fader. This allows you to capture the changes you make with the fader in real-time, adding a dynamic element to your music.
Concluding Remarks
The KO II, despite its name, is not a successor but rather a different entity altogether. This machine offers a plethora of features that can cater to all your music creation needs.
One of the standout features of the KO II is its capacity for numerous projects. You can have up to nine projects running simultaneously and easily switch between them by simply pressing and holding the ‘shift’ key.
The KO II also offers MIDI in and MIDI out capabilities. This means you can easily sequence an external synthesizer, like the mighty fine Mega FM synthesizer. Setting this up is straightforward – just connect the MIDI from the keyboard to the KO II and set the MIDI channel to one. The KO II will then play MIDI notes onto the synthesizer.
One of the most impressive aspects of the KO II is the length of the pattern it allows. A pattern can be as long as 99 bars, providing you with the freedom to create and play polyphonic MIDI notes without any timing restrictions.
In addition to these features, the KO II also boasts a Looper that affects MIDI out, allowing you to create unique sound effects.
The KO II has received praise for its affordability and functionality. The machine has been designed to be user-friendly and accessible to a wide audience, making music creation more attainable for many.
Overall, the KO II has successfully built on the foundation laid by the KO and has proven itself to be a worthy addition to any musician’s toolkit.
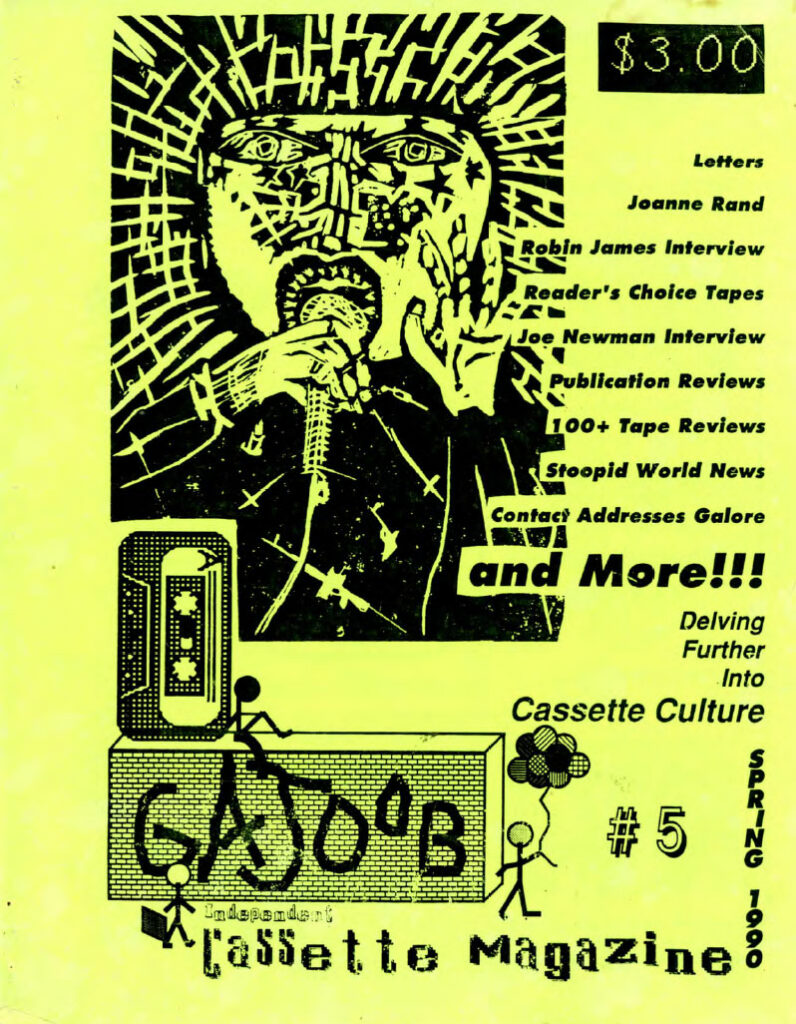
It will surely make a great feature on GAJOOB Zine. Stay tuned for more updates and reviews!
Sources:
- Teenage Engineering Website
- Cuckoo’s YouTube Video
- Anderton’s YouTube Video
- Ave McRee’s YouTube Video
- B&H Photo YouTube Video (very good 10-minute intro)
by
Tags:
Comments
- Ads (3)
- Albums (138)
- Artificial Intelligence (1)
- Audio Art (13)
- Books (3)
- Briyan (1)
- Business (5)
- Cassette Culture Shock (3)
- Channels (2)
- Collaboration Projects (4)
- Comics (1)
- Creative (10)
- Discover Sounds (1)
- Editorial (2)
- GAJOOBTube (2)
- Gear (8)
- Instruments (4)
- Interviews (9)
- Labels (14)
- Letters (3)
- Library (14)
- Links (5)
- Merch (2)
- News (2)
- People (17)
- Performance (1)
- Podcast (1)
- Profiles (29)
- Projects (0)
- Tapegerm (6)
- Uncategorized (7)
- Video (3)
- Video & Vlogging (0)
- Vlogs (1)
- Websites (6)
- Zine Making (1)
- Zines (11)

*Purchasing via Amazon affiliate links helps support our efforts at no additional cost to you. Thank you!
Leave a Reply
You must be logged in to post a comment.